ApacheDS 2.0
Downloads
Documentation
- Basic User Guide
- Advanced User Guide
- Developer Guide
- Kerberos User Guide
- Configuration
- JavaDocs
- Cross-Reference
Support
Community
About Apache
Section III - Instructions to configure ApacheDS and load with seed data
Step 1
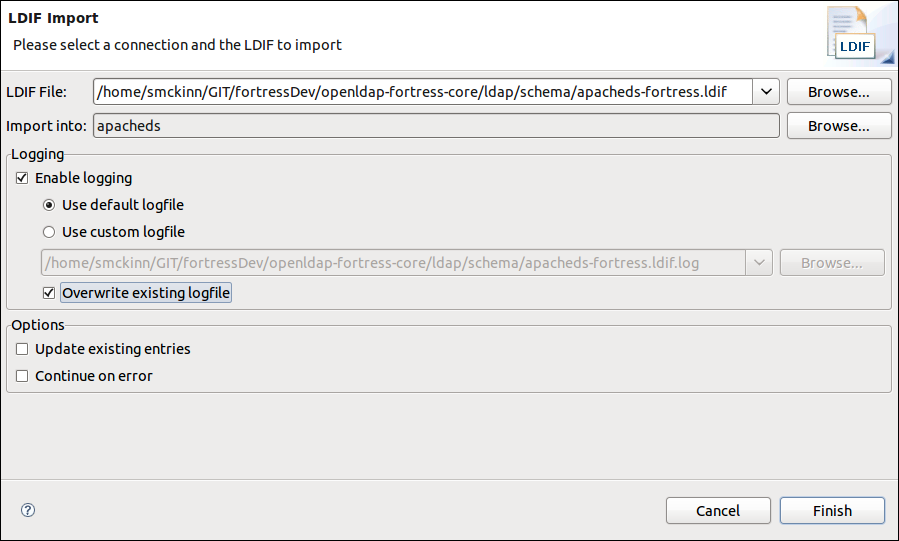
Import Fortress ApacheDS schema into ApacheDS server using preferred ldif import tool. Fortress ApacheDS schema located here: FORTRESS_HOME/ldap/schema/apacheds-fortress.ldif
Screenshot of Apache Directory Studio import of Fortress schema file into ApacheDS:
Note: The default for this setting is 'false' or disabled.
Step 2
The fortress 'init-apacheds' uses LDAPv3 to perform initial operations.
Edit build.properties, ensure the following line has been commented out:

Note: The default for this setting is 'false' or disabled.
Step 3
From FORTRESS_HOME root folder, enter the following command from a system prompt:
./b.sh init-apacheds
Step 4
Verify it ran correctly according to Ant.
BUILD SUCCESSFUL

Step 5
After above step completes, Symas ApacheDS will be installed, configured and loaded with fortress bootstrap config. This step also runs provisioning scripts which may be tailored according to requirements. Check out the xml load scripts in FORTRESS_HOME/ldap/setup folder.
Step 5
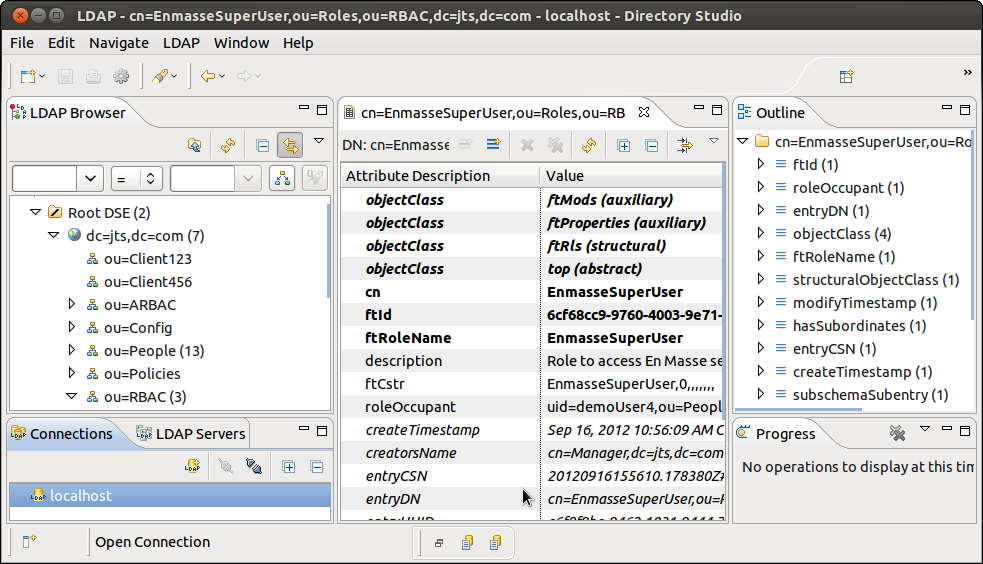
Point your preferred LDAP browser, ours is Apache Directory Studio, to the installed directory.